
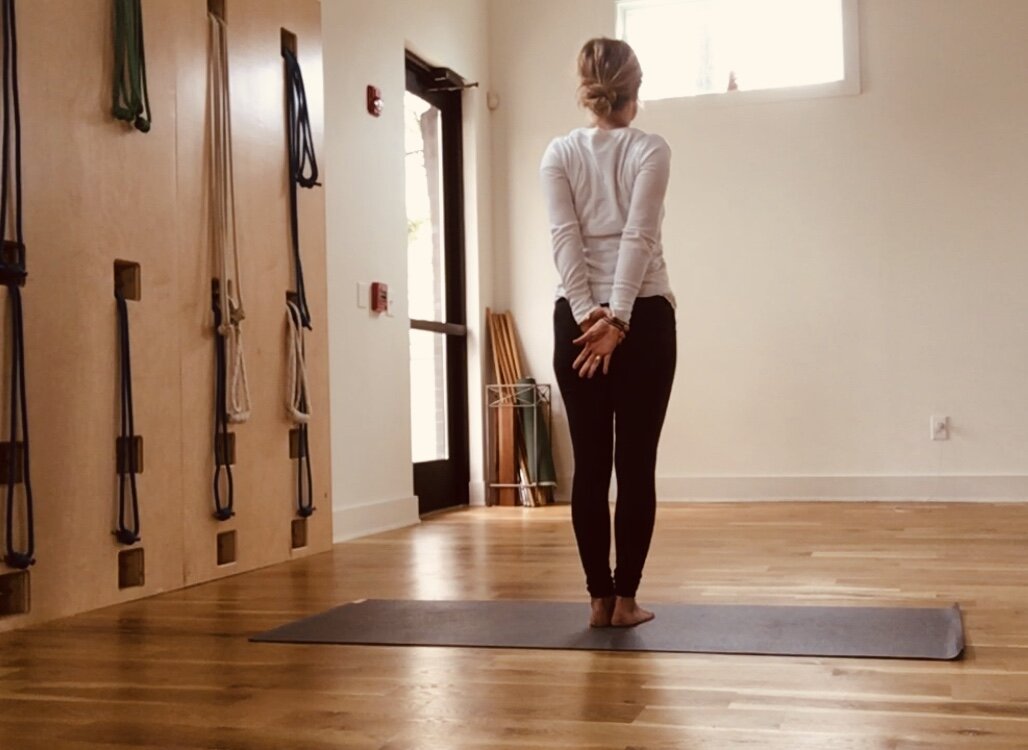
Rejuvenate Your Self
Many of us come to yoga with stiffness in the lower back. As we age, the region of the lower back can become quite hard and congested. This sequence targets the thick, more dense muscles of the lower back waist, bringing freedom and suppleness. The sequence builds towards two of my favorite poses, Parivrtta Janu Sirsasana and Parivrtta Upha Vistha Konasana. Guruji writes in Light on Yoga that the practice of Parivrtta Janu Sirsasana stimulates blood circulation to the spine and relieves backache. In Light on Life, he writes the following: ‘. . .A yogi never forgets that health must begin with the body. Your body is the child of the soul. You must nourish and train your child. Physical health is not a commodity to be bargained for. Nor can it be swallowed in the form of drugs and pills. It has to be earned through sweat. It is something that we must build up. You have to create within yourself the experience of beauty, liberation, and infinity. This is health.’
My great hope is you dive into your practice with joy, discrimination, and curiosity! I’m adding a few standing postures/variations to consider as a start to this sequence (more can be added). If you are a beginner, be generous with your repetitions and start, if needed, with the brick on its highest height, gradually working your way down to a lower height or the floor as you begin to feel the stiffness sluff off.
You can start with Tadasana and arm variations and build from there, Urdvha Hastasana, Urdvha Namaskarasana, and Urdvha Baddanguliyasana would all be great additions. If you have very tight hamstrings, you might add in Parivrtta Trikonasana and some of the standing forward extensions such as Padangusthasana and Padahastasana after Parsvottanasana. Your body will tell you what it needs.
Utthita Trikonasana (extended Triangle pose)
First do the classic pose (feel free to use a brick under your hand- not shown). Then try this secondary variation with the arm as in Urdvha Hastasana. It is important in the standing lateral poses that you extend from the lower abdomen towards the chest, keeping the tailbone in and the spine lengthening. Observe the changes that come with a change in the arm position.

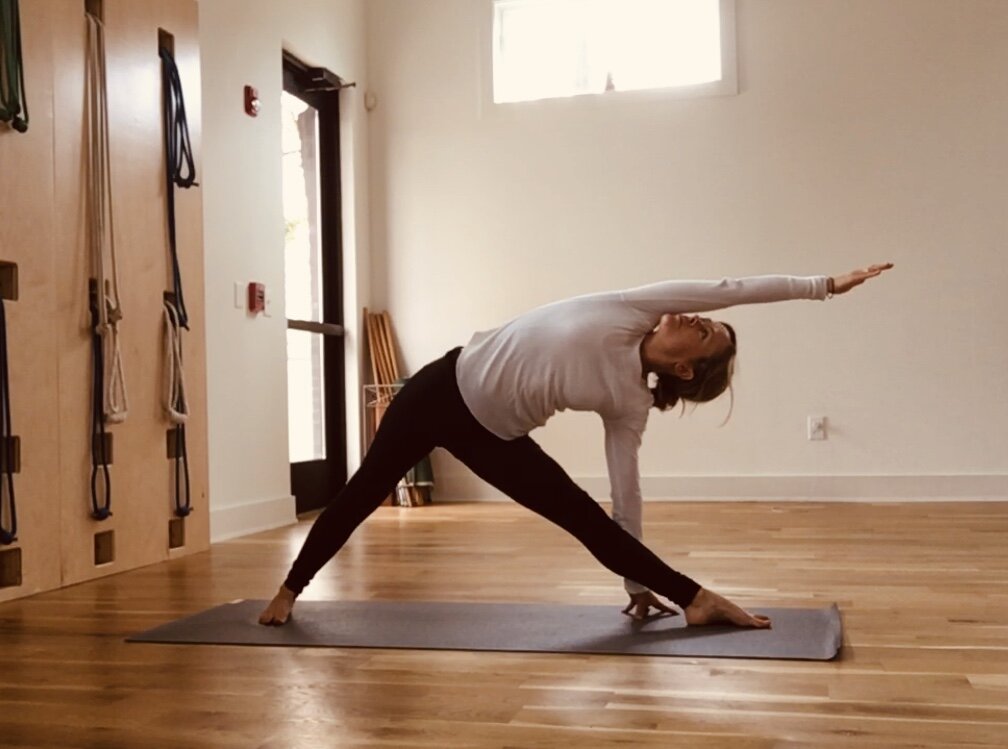
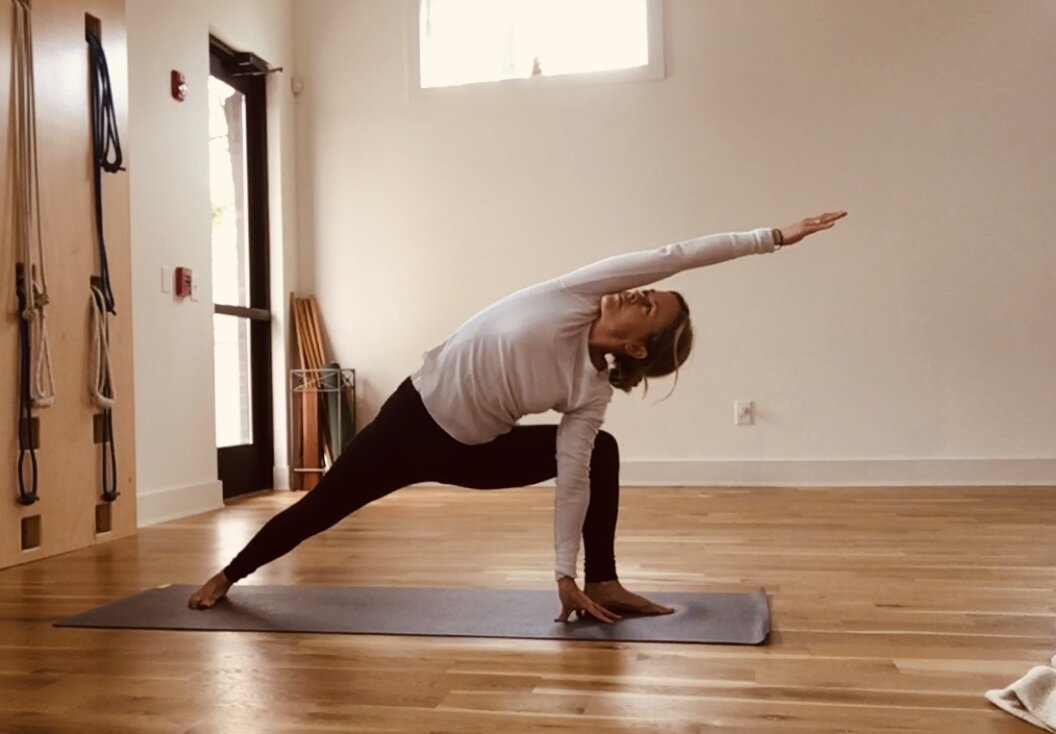
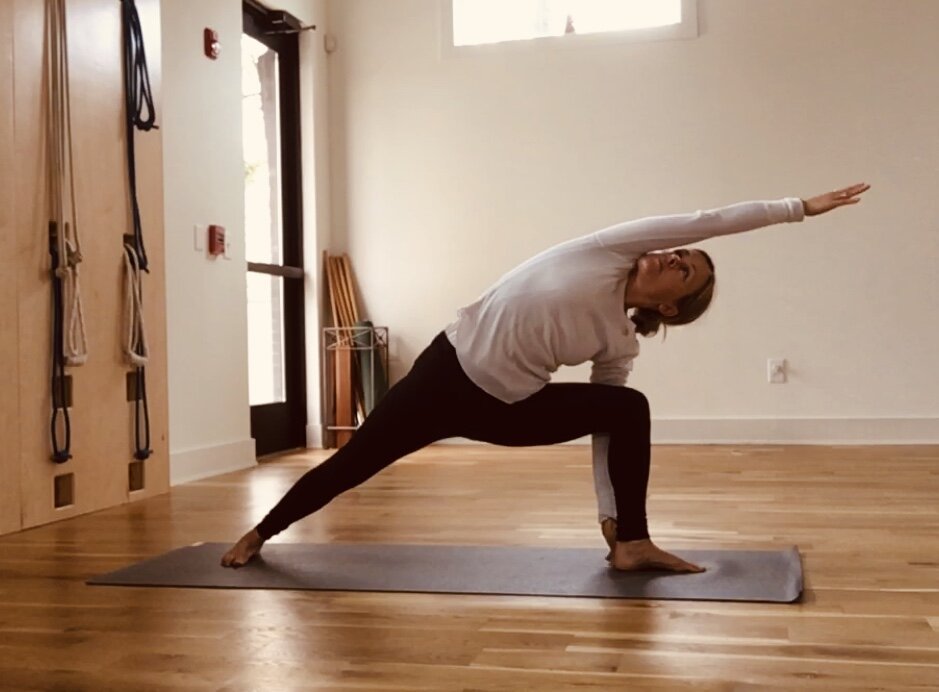
Utthita Parsavkonasana (side angle pose)
Try the classical pose and then try with the hand to the inside. When you take the hand to the inside, it should act as a plumbline keeping the shin vertical and the knee over the heel, try resisting the arm slightly agains the knee/shin as you roll the bent leg buttock more strongly in to the body and forward. The stretch to the groin intensifies. At the same time, keep the back heel pressing down and the back leg firm.
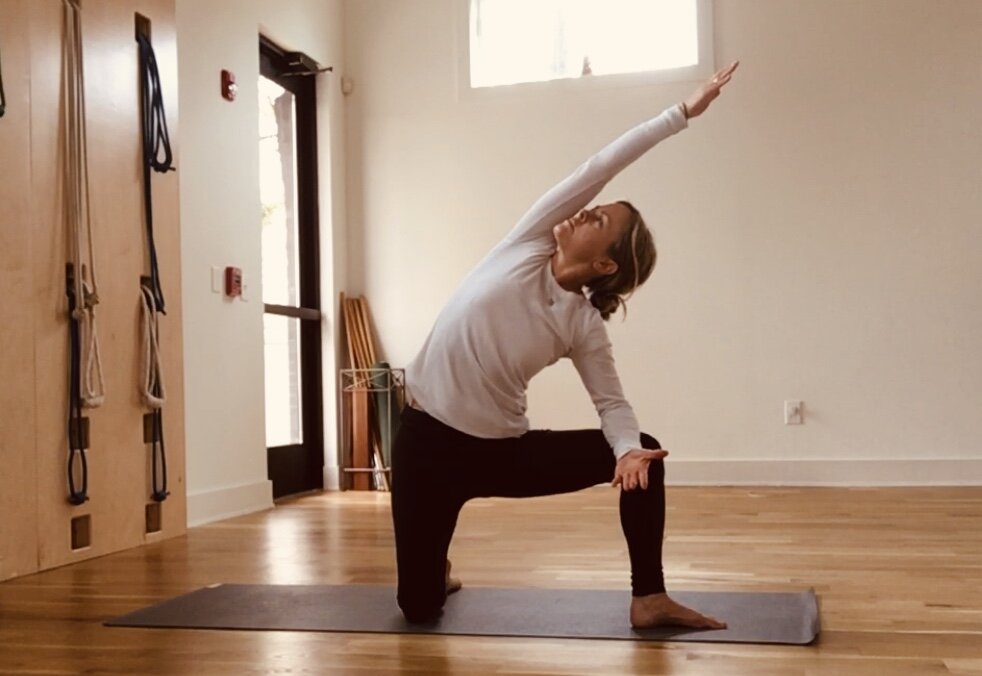
Parighasana (gate latch pose)
This is a rich pose and there are many options to explore (not shown but also a wonderful variation is using a brick for the hand in the bent leg position in the first image). When going to the right, it is key to keep the bent leg thigh of left leg absolutely perpendicular to the floor. No leaning. That buttock should roll down as you lengthen from the lower waist through the arm.
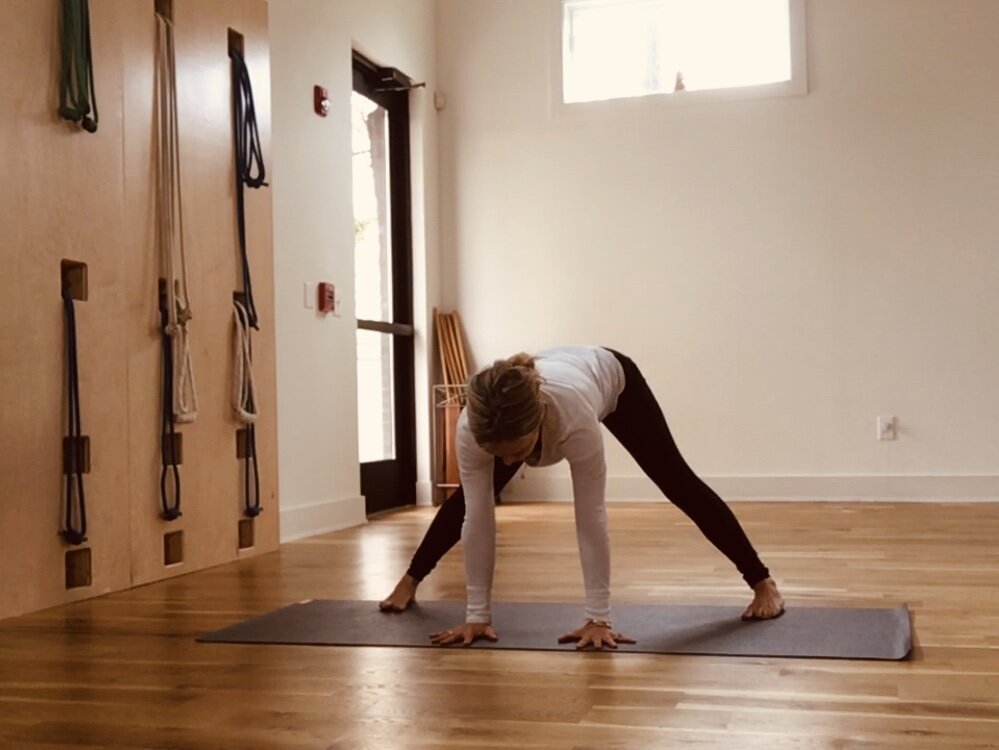
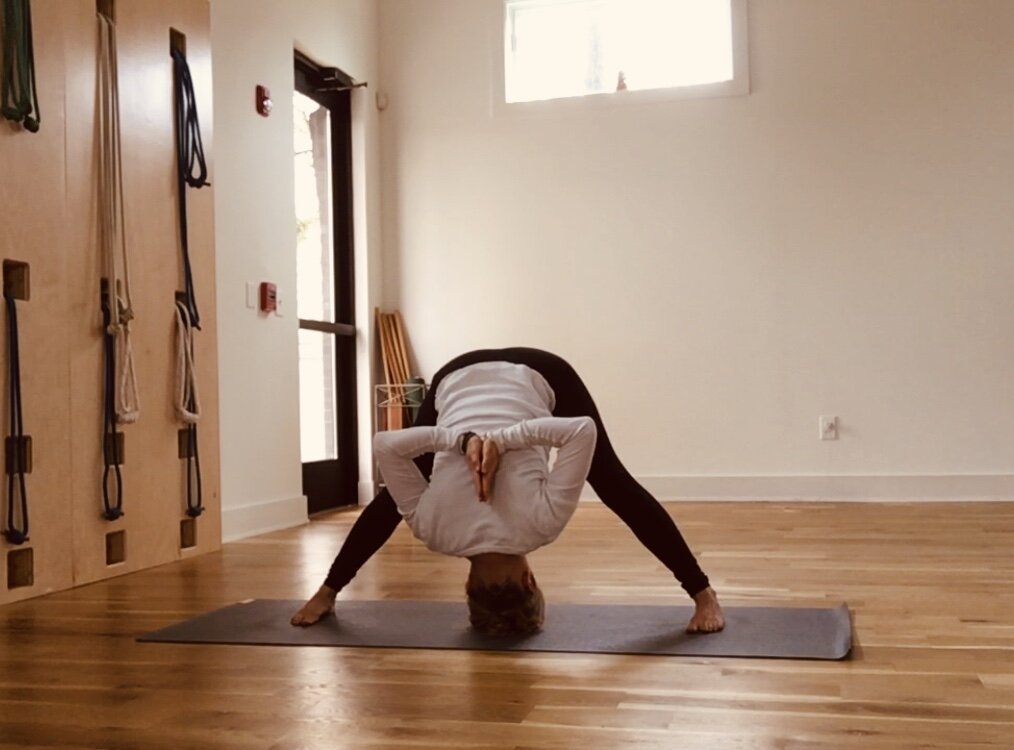
Prasarita Padottanasana I (widespread feet and leg pose)
See that as you begin you are bearing the weight evenly over the two feet and two hands. Give an even upward stretch to all four limbs. Not shown is walking the hands back in line with the feet while stretching the chest forward. Don’t skip that. When you bring the head down, if it doesn’t reach the floor, place it on a brick (not shown).
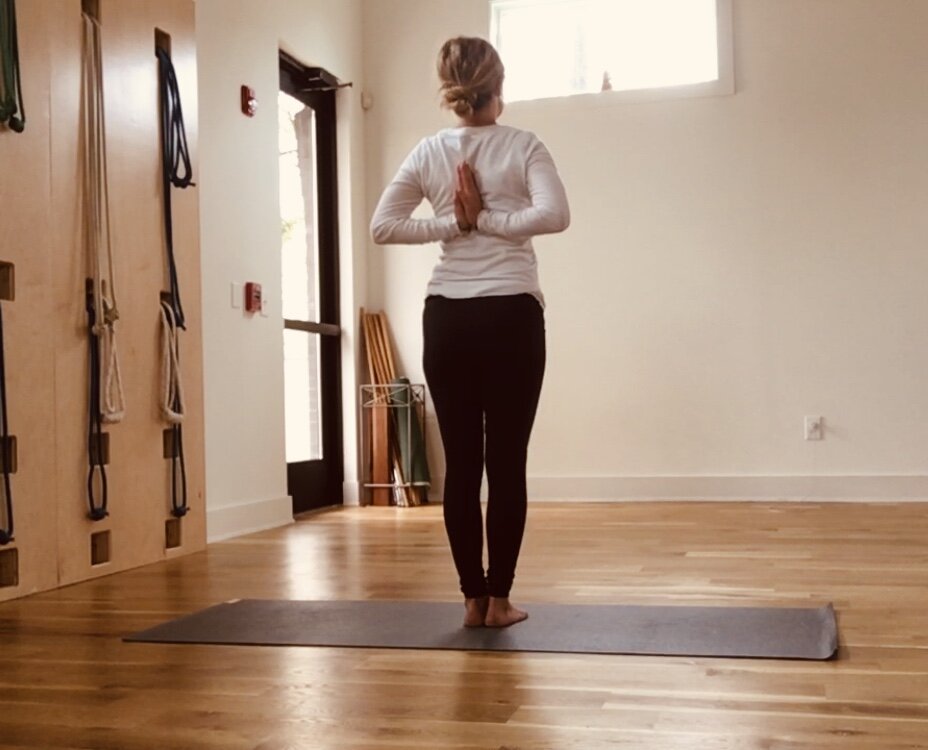
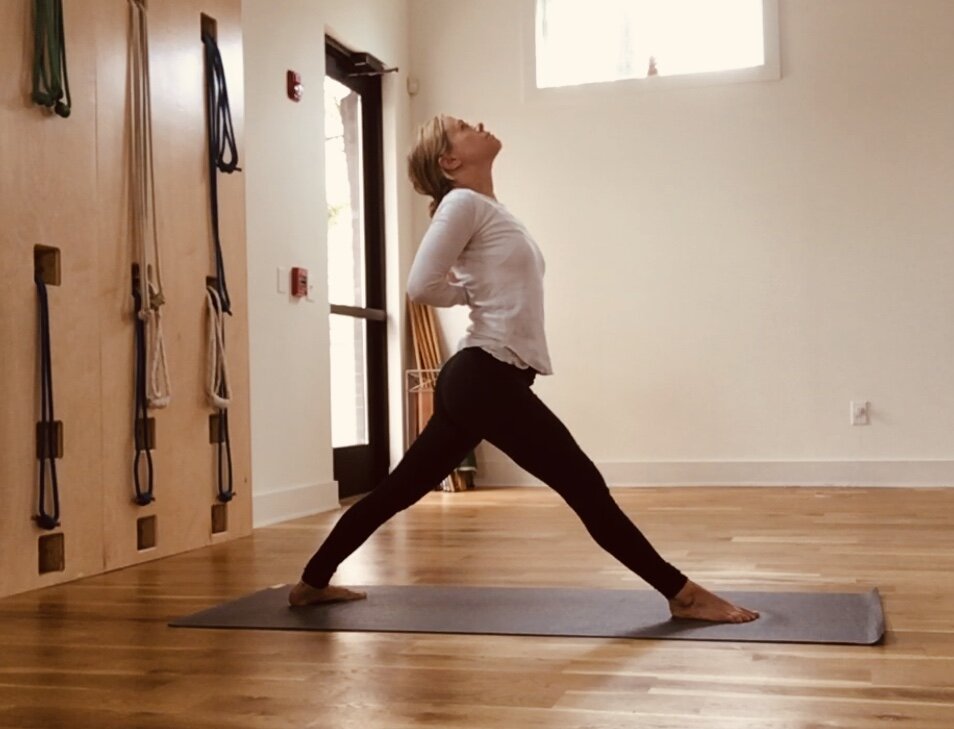
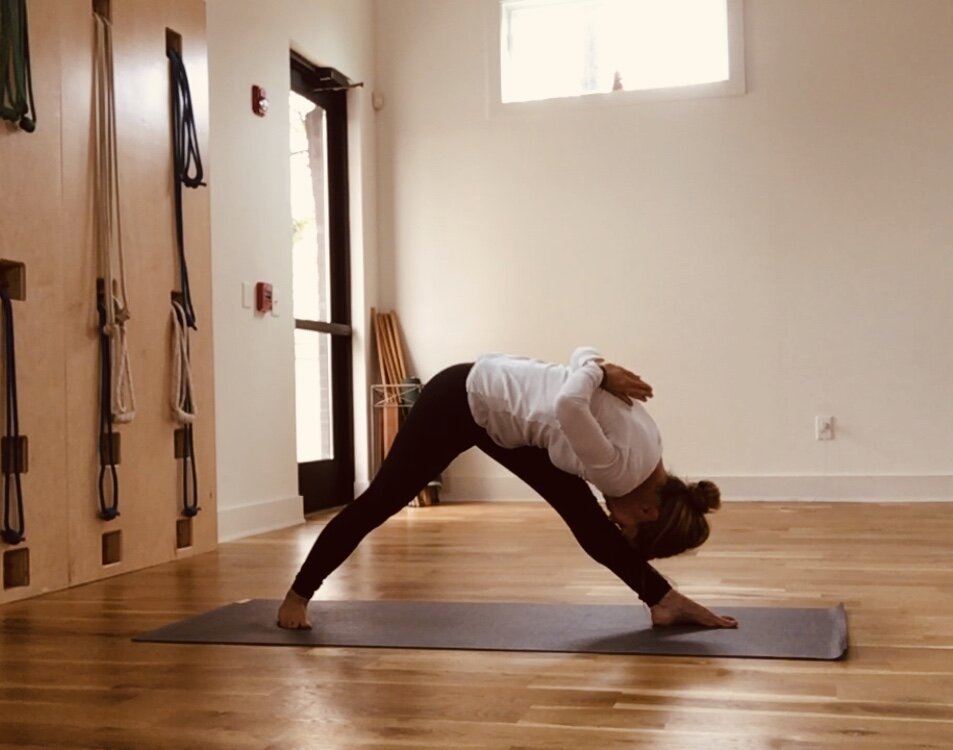
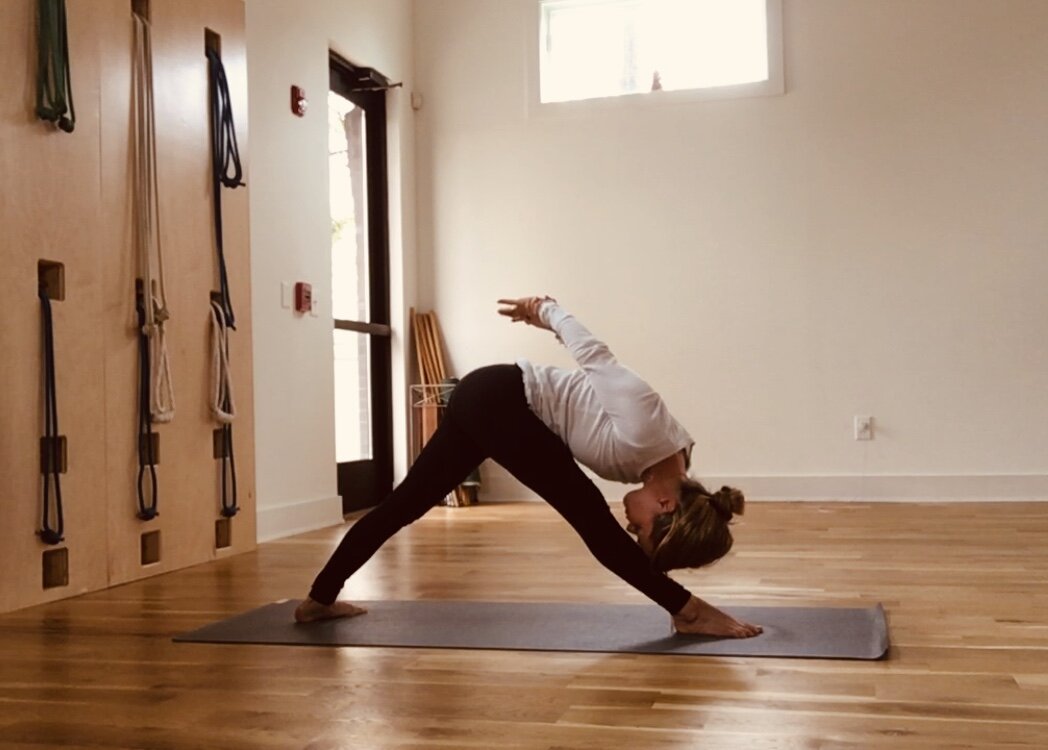
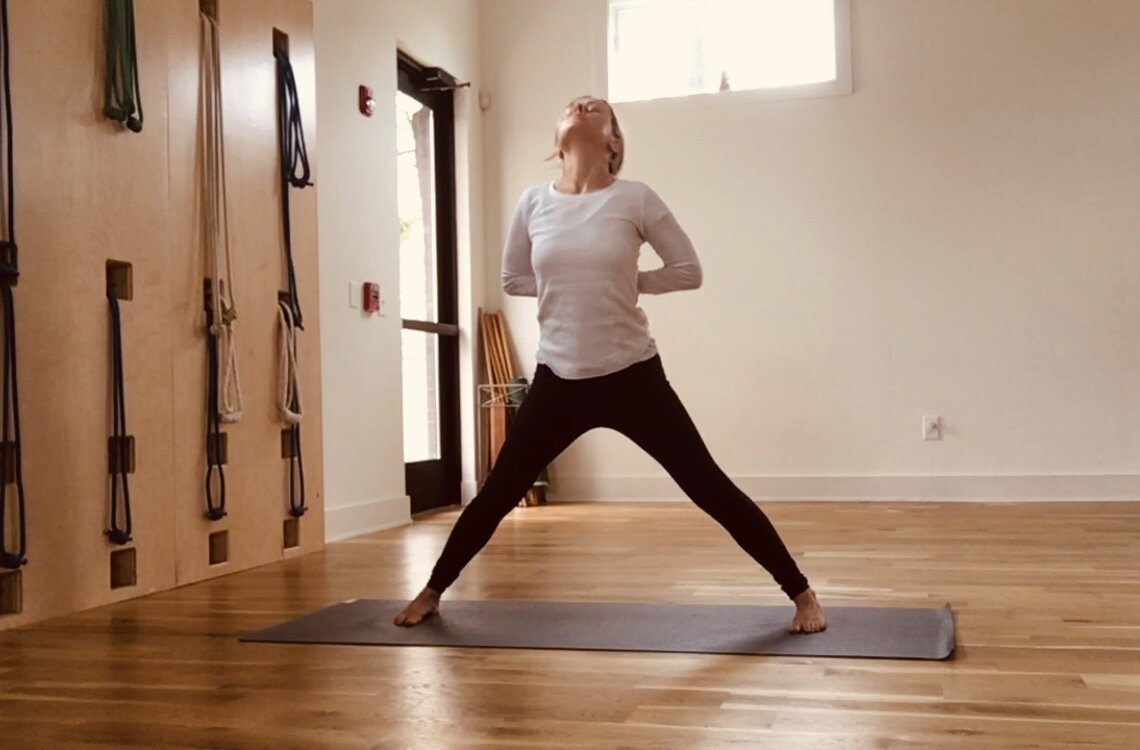
Parsvottanasana classic (intense stretch to one side with hands in Paschima Namaskar)
Try this pose in stages. Do just the Utthita Stage to begin (block 2), then you might try doing the pose with the hands down/head down (not shown), and then try the full pose (block 3). The hand placement in Paschima Namaskar brings the dorsal spine in which opens the chest and intensifies the stretch to the hamstrings. It requires a grip to the outer hip and thighs for stability.
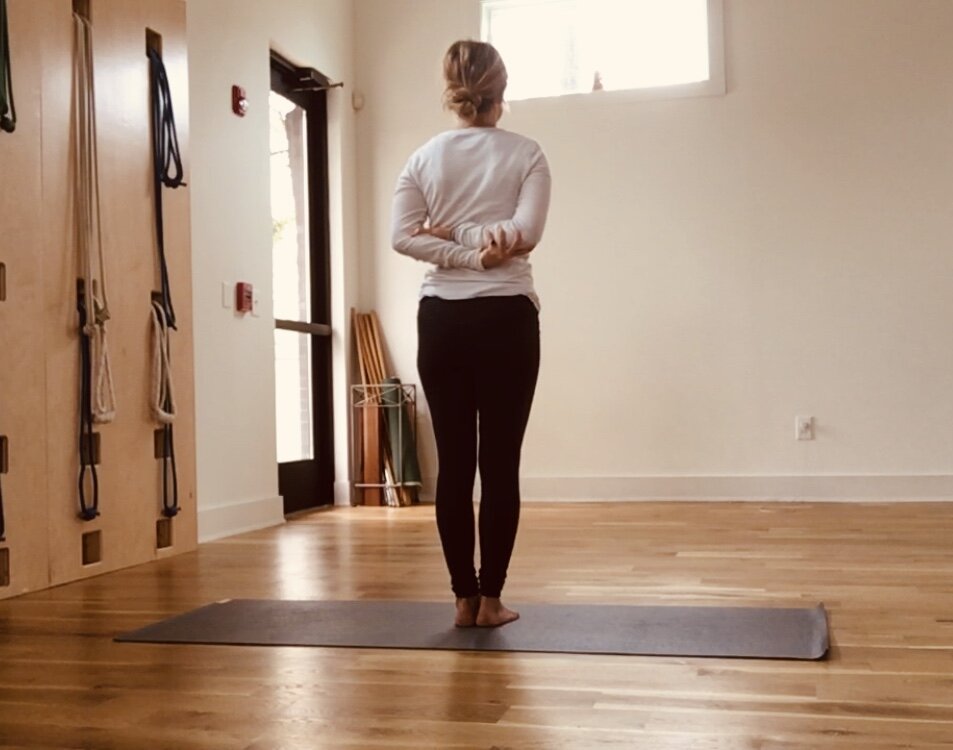
*if Paschima Namaskar is not accessible, try the following arm alternatives:
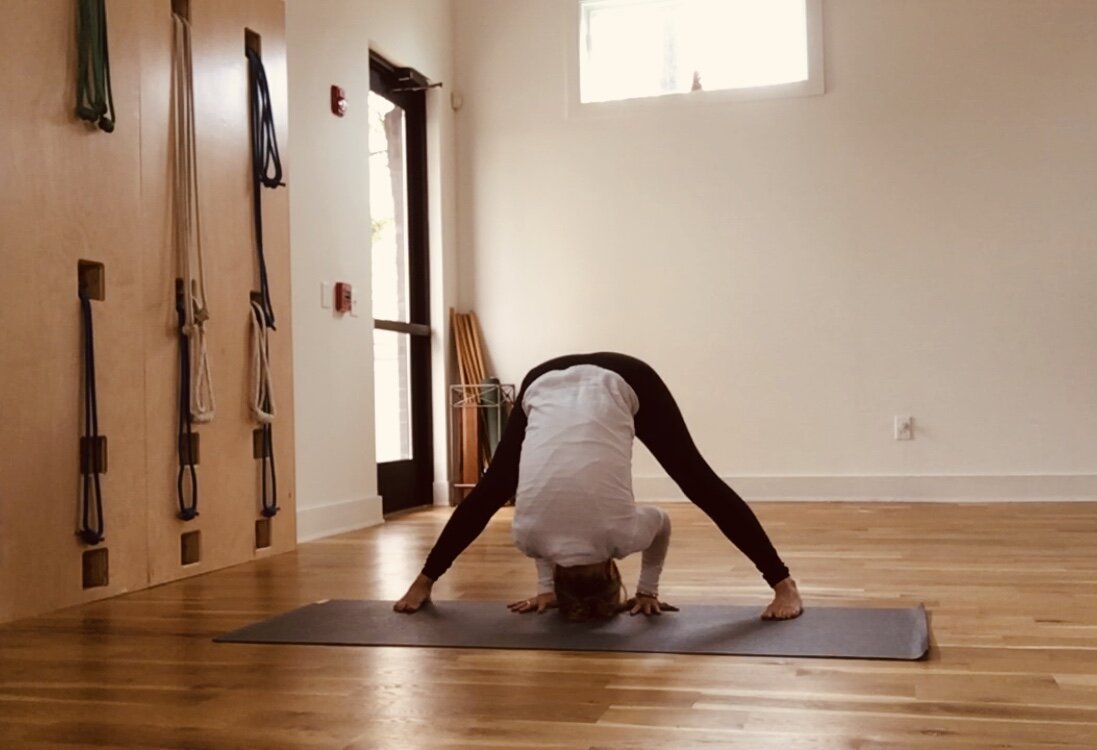
Prasarita Padottanasana II (widespread feet and leg pose, variation II)
This is an intensification of the stretch of the legs from variation I. If the head doesn’t reach the floor, try widening your distance. If it still doesn’t reach, release the palms to the floor and place the head on a brick.
Upha Vishta Konasana (seated wide angle pose)
Use this pose to open the backs of the legs fully and to cool the legs from the standing poses. See that the legs face evenly upward, toes upward, and spread the back of the knees into the floor. Press the knees and thighs down and lift the waist up (I could be doing a better job lifting the waist here!). One of the most important things to look for in this pose and the poses to follow is that there is a balance/evenness between the sacrum/tailbone and pubic bone. The sacrum should not drop back, it should lift. Behind the pubic bone should also lift. There has to be a deep upward lift from this region to the chest. The lower spine should not collapse forward nor backward. Look for that quality in this and all the seated poses to follow!

Janu Sirsasana (head to knee pose)
Take each image as a stage and repeat attempts. I am sitting on the height of a folded blanket. You can take two or three even.
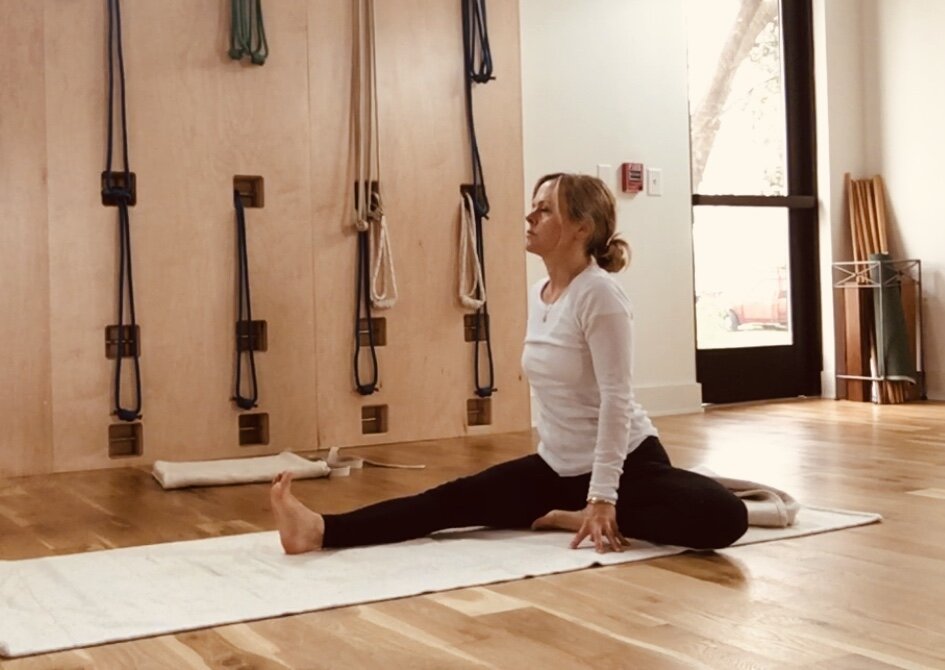
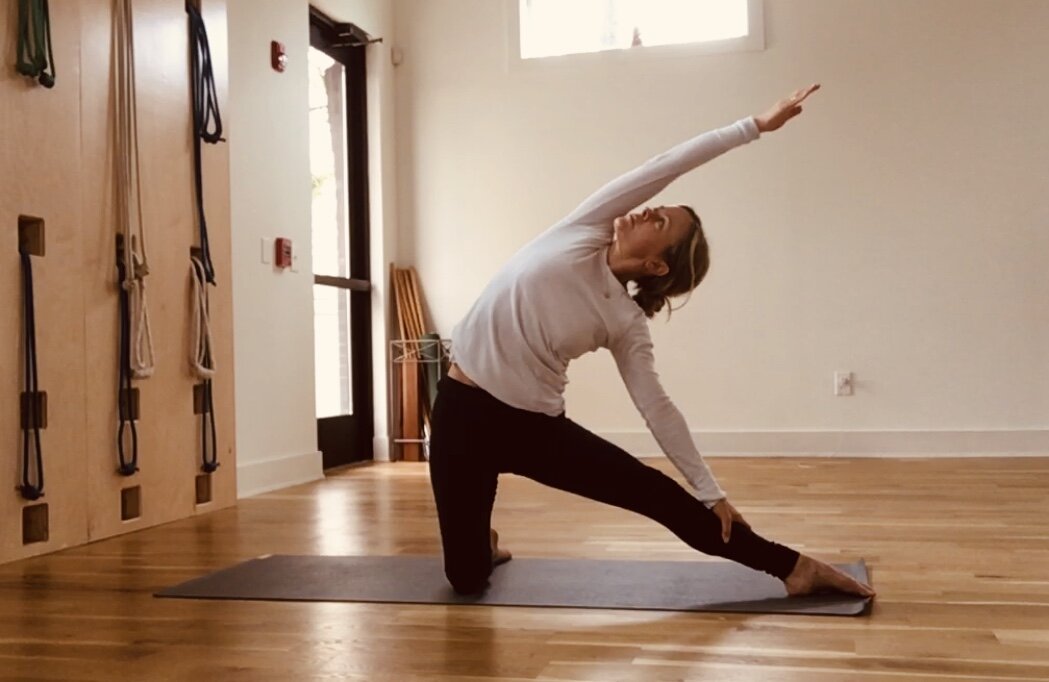
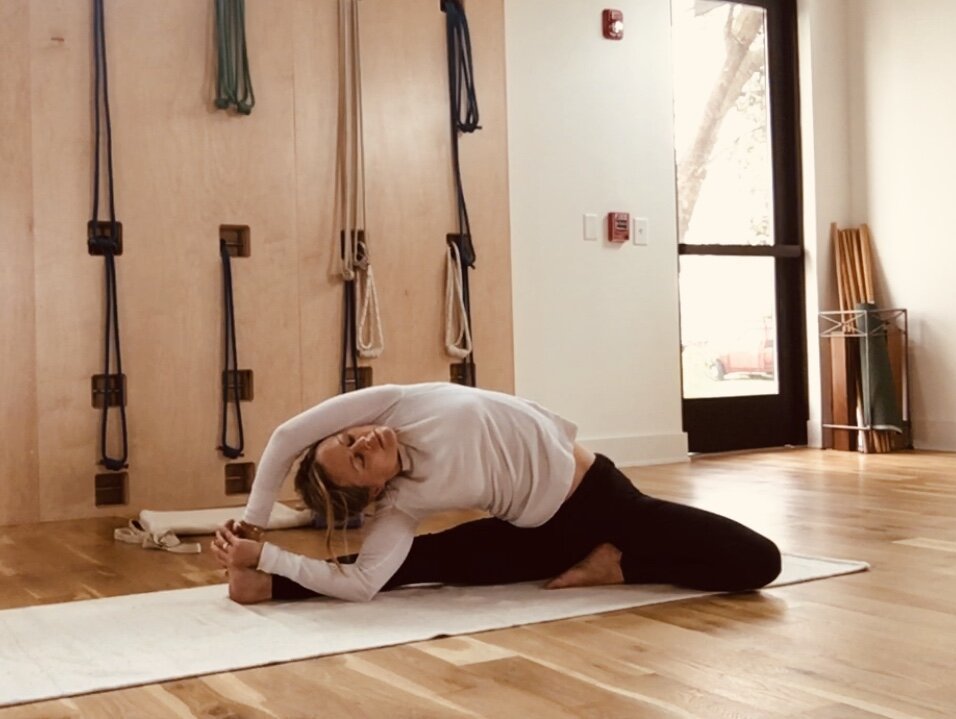
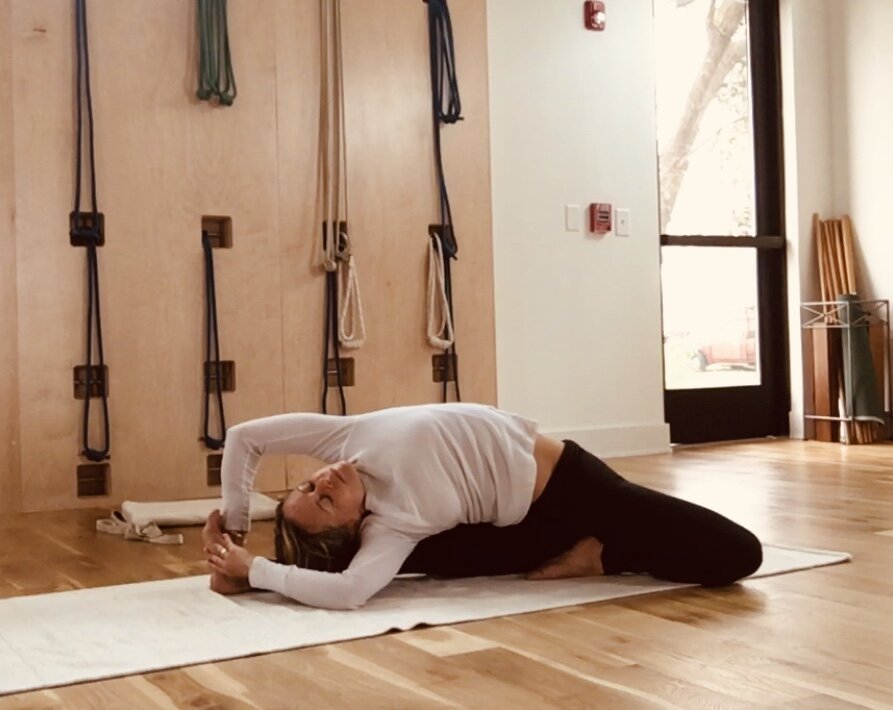
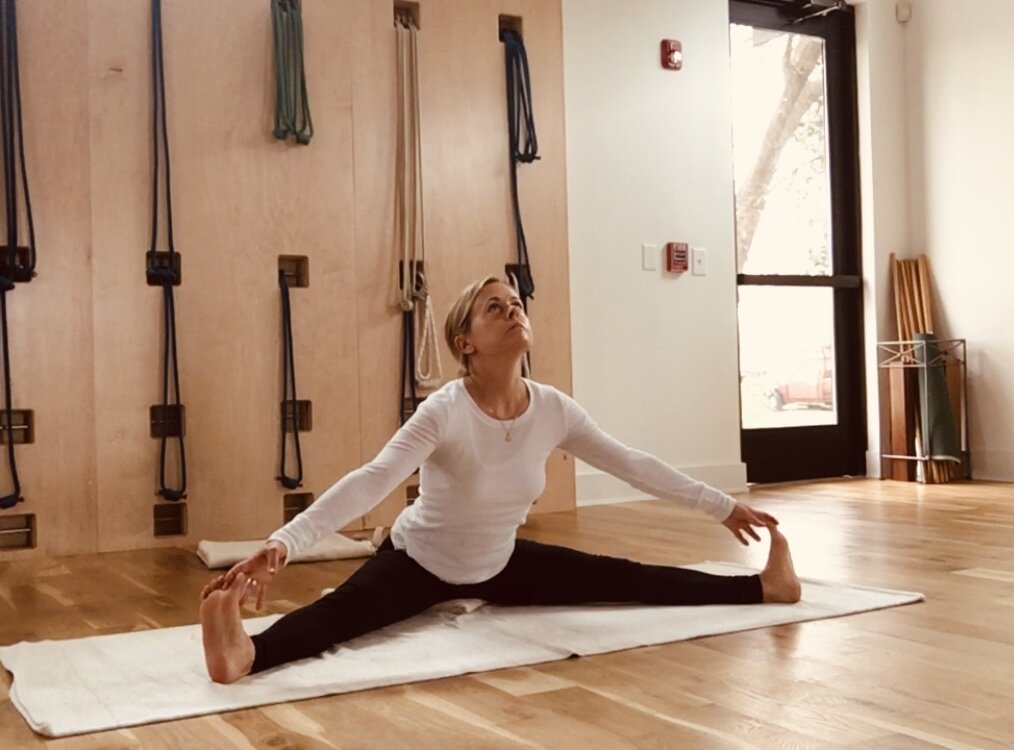
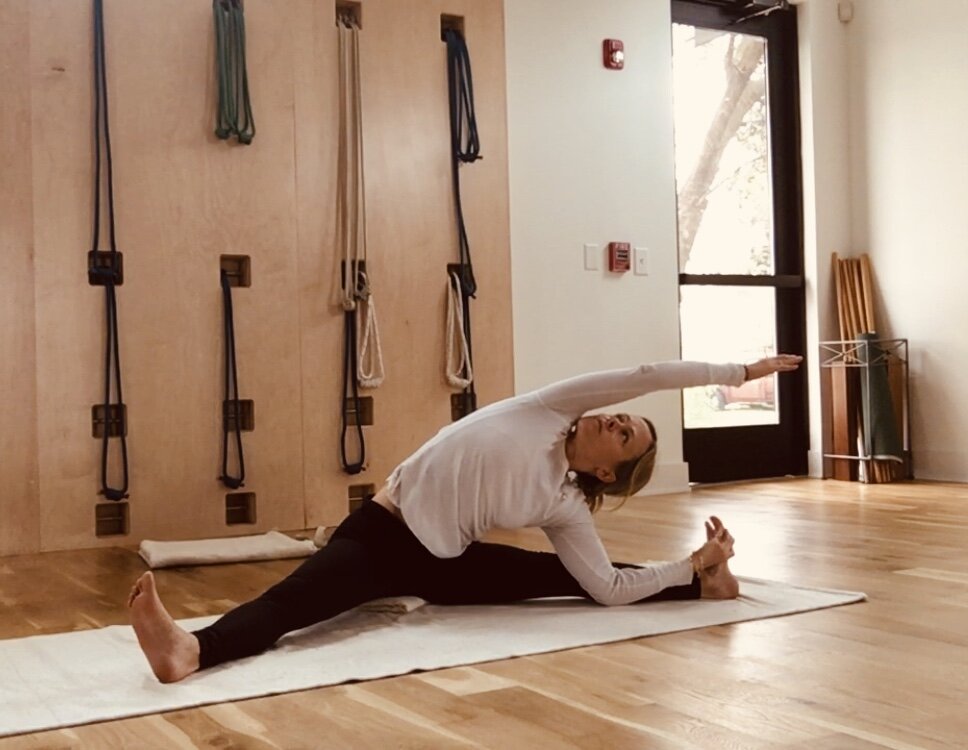
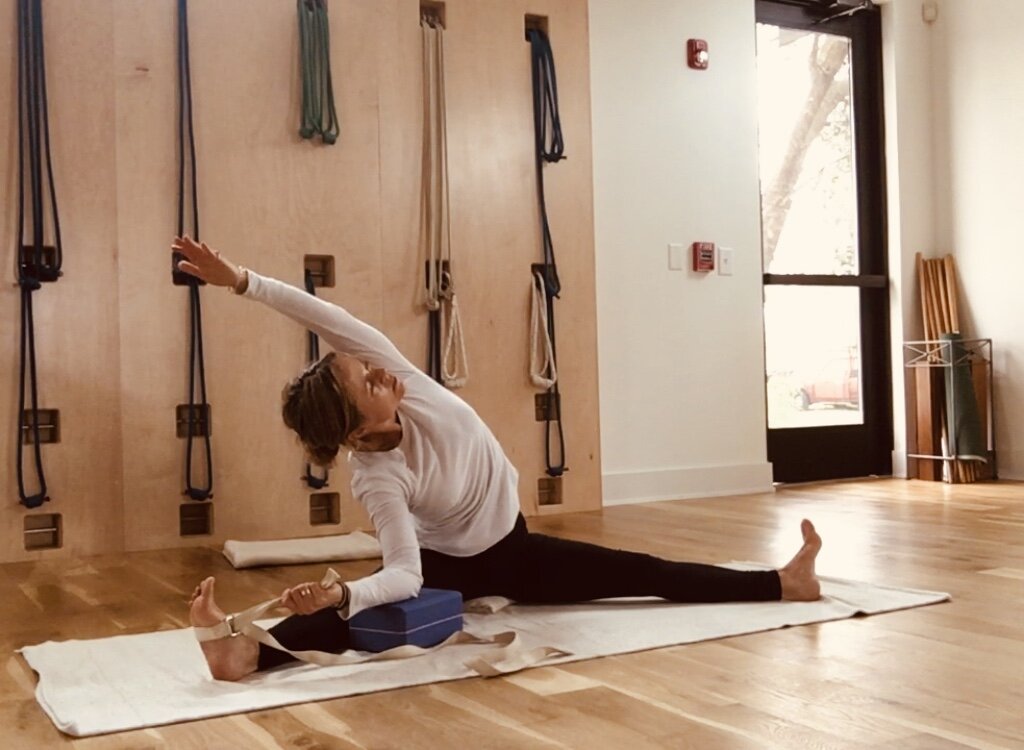
Parivrtta Janu Sirsasana (revolved head to knee pose)
This is a delightful pose and best taken with lots of repetition! It is a deep stretch to the lower back waist. I am starting by showing the first two stages. The straight leg should remain facing the ceiling and you have to pull with the arm that is catching it and lift and turn the trunk towards the bent leg. Stretch the bent leg thigh away from the hips and down, lift from the lower abdomen upwards at the same time and then turn towards the bent leg. As you bring the elbow down, use it pressing into the knee/shin to turn again.
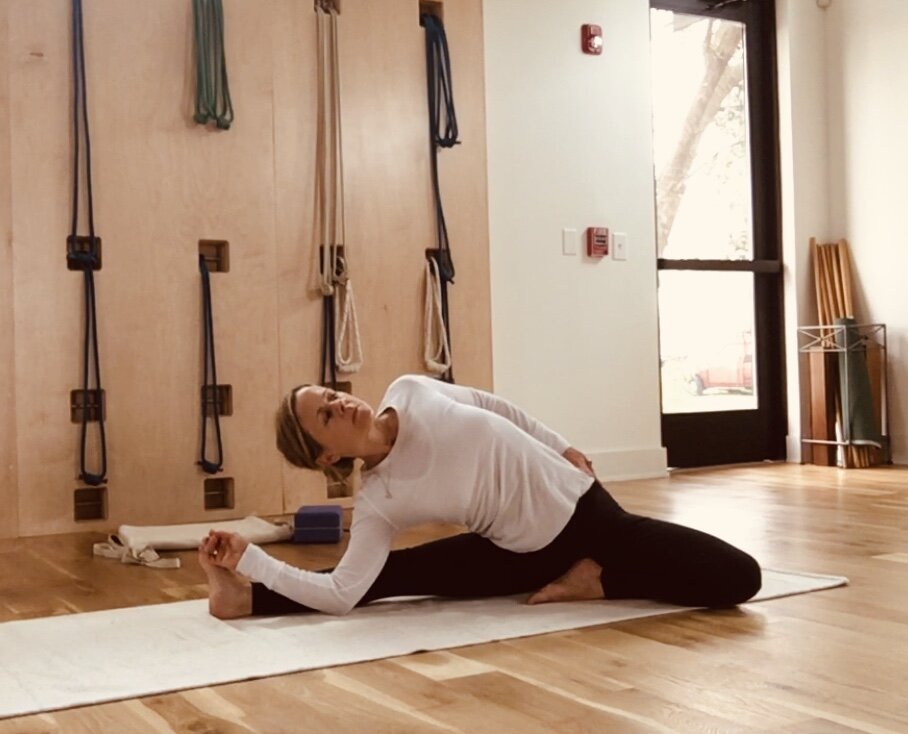
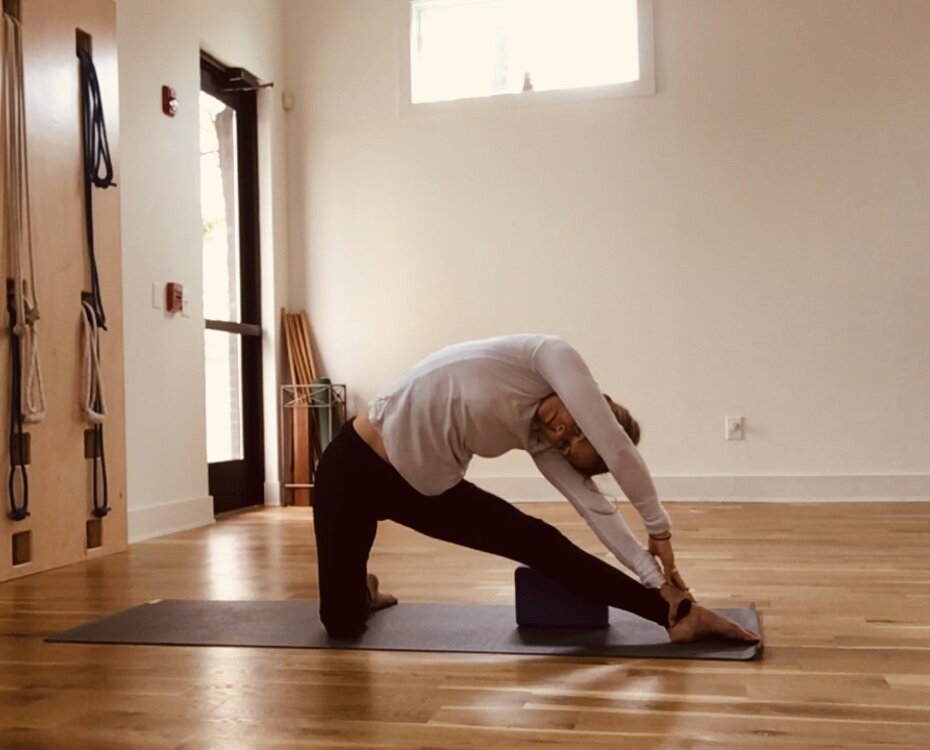
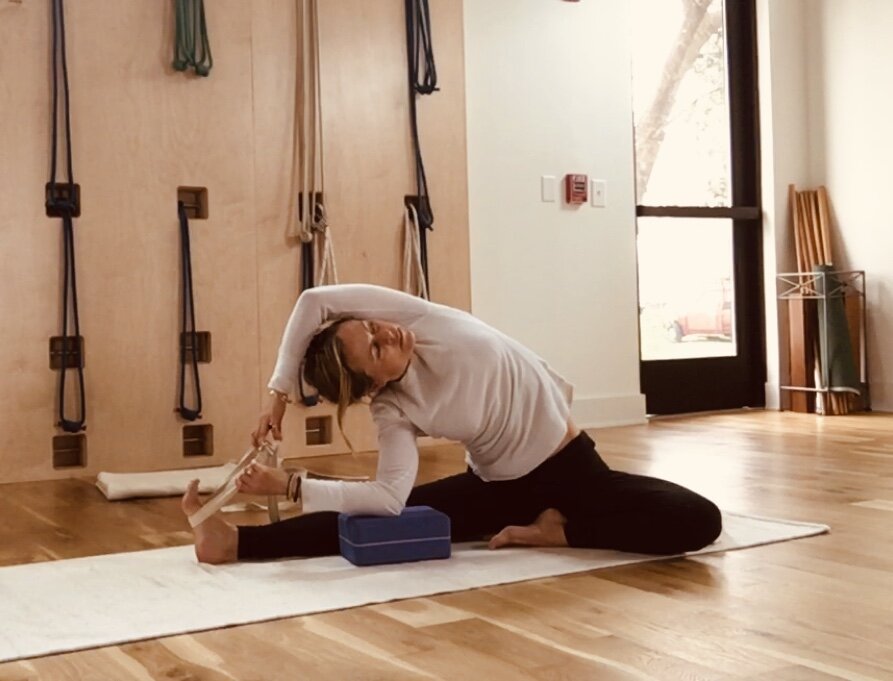
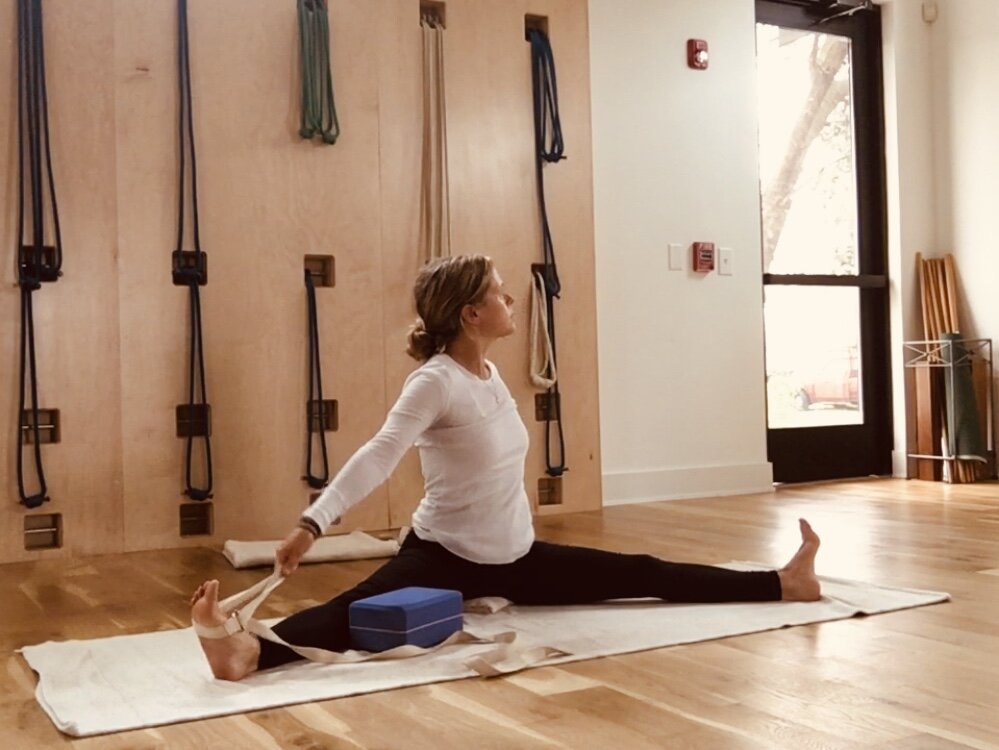
*if elbow doesn’t reach the floor or you can’t catch the foot, use a belt and brick:
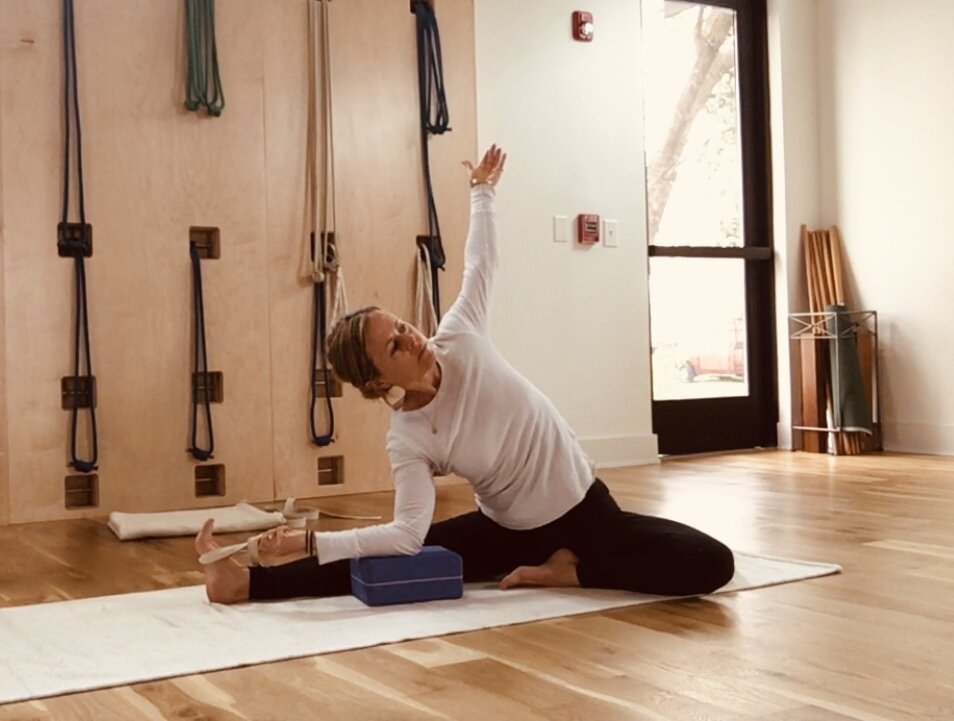

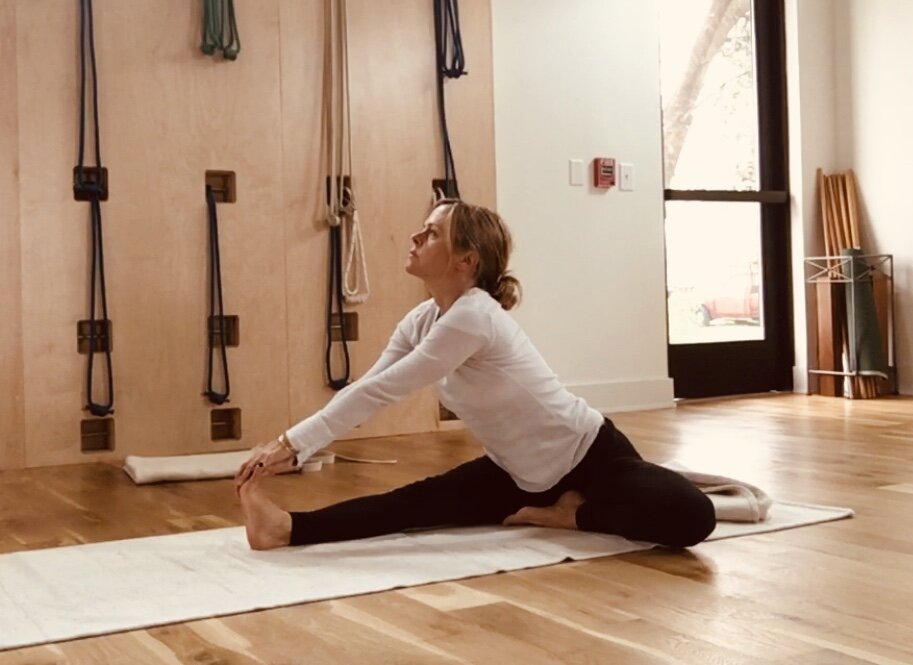
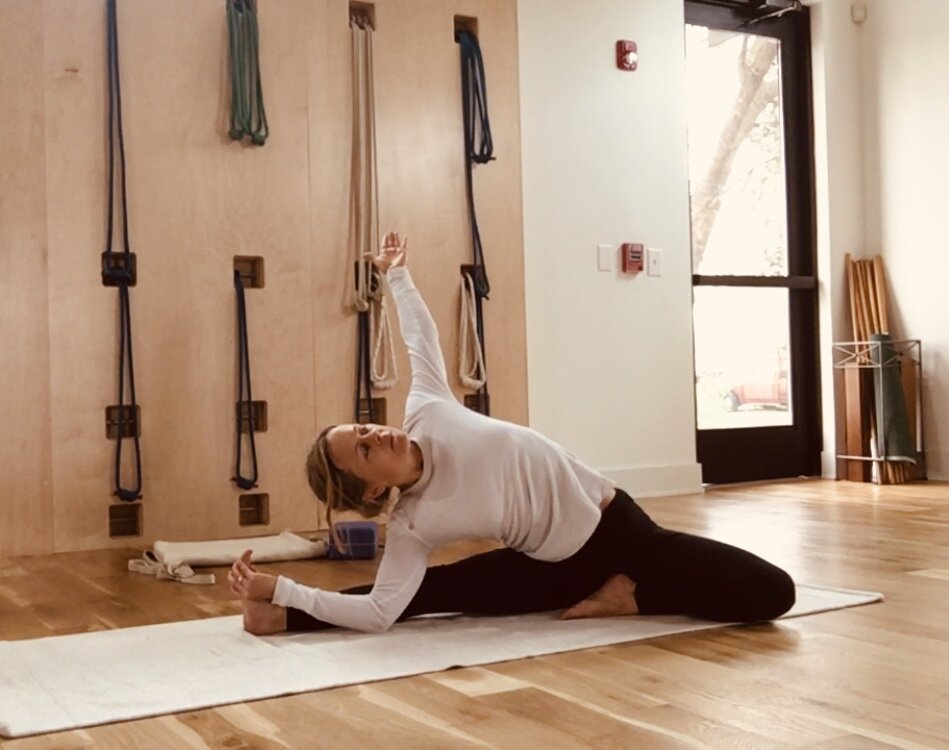
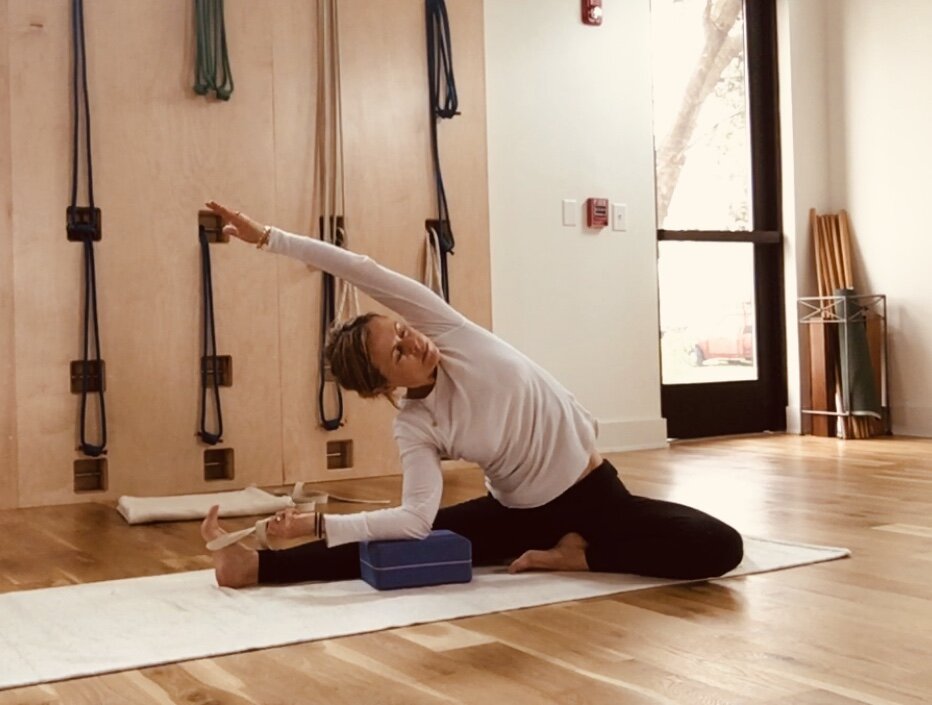
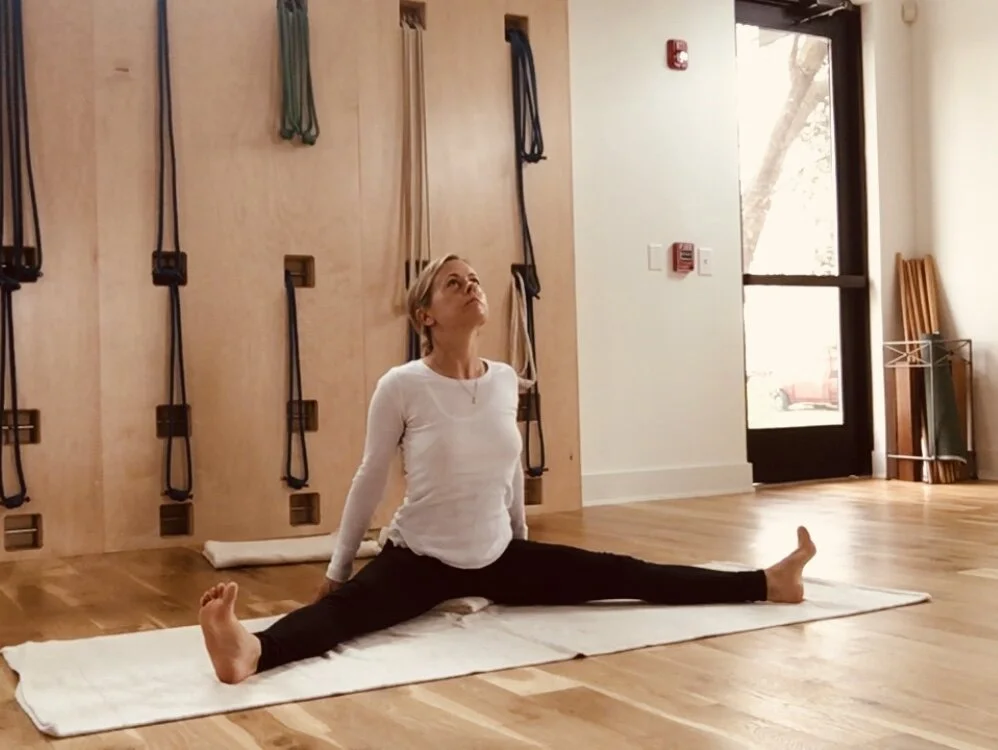
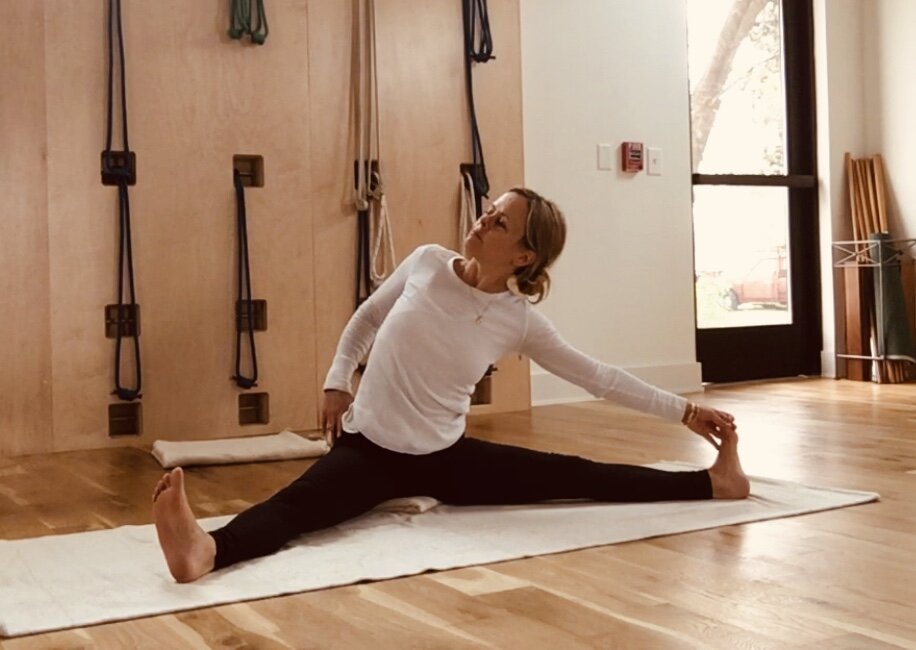
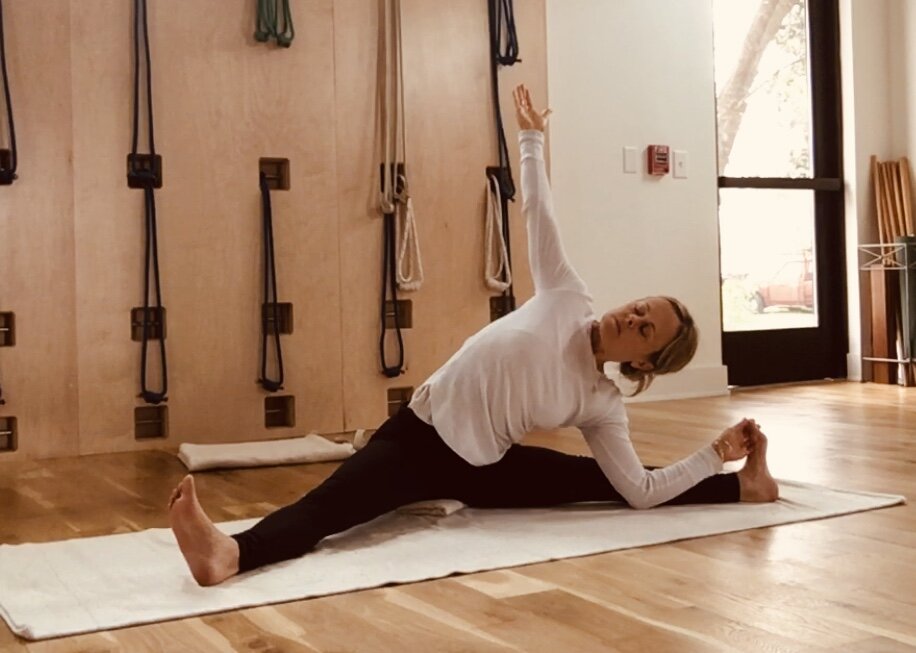
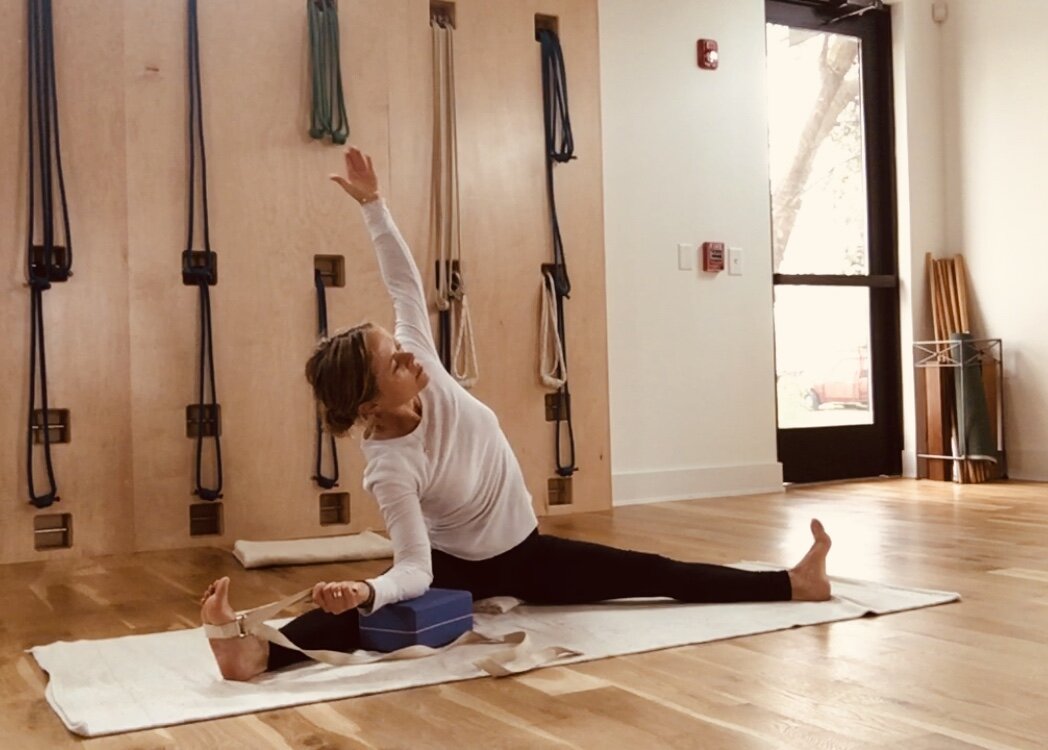
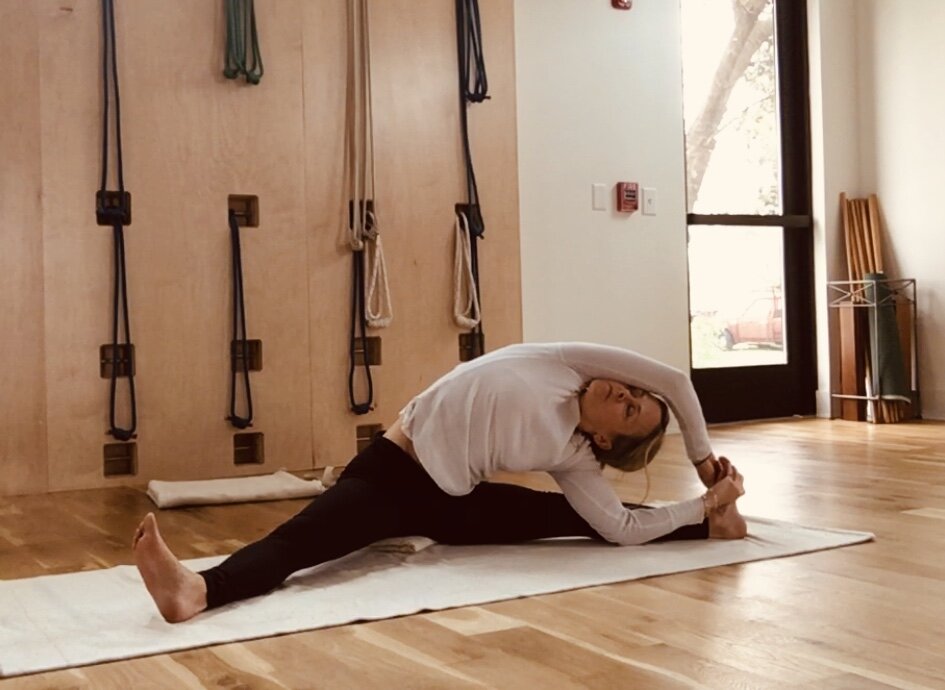
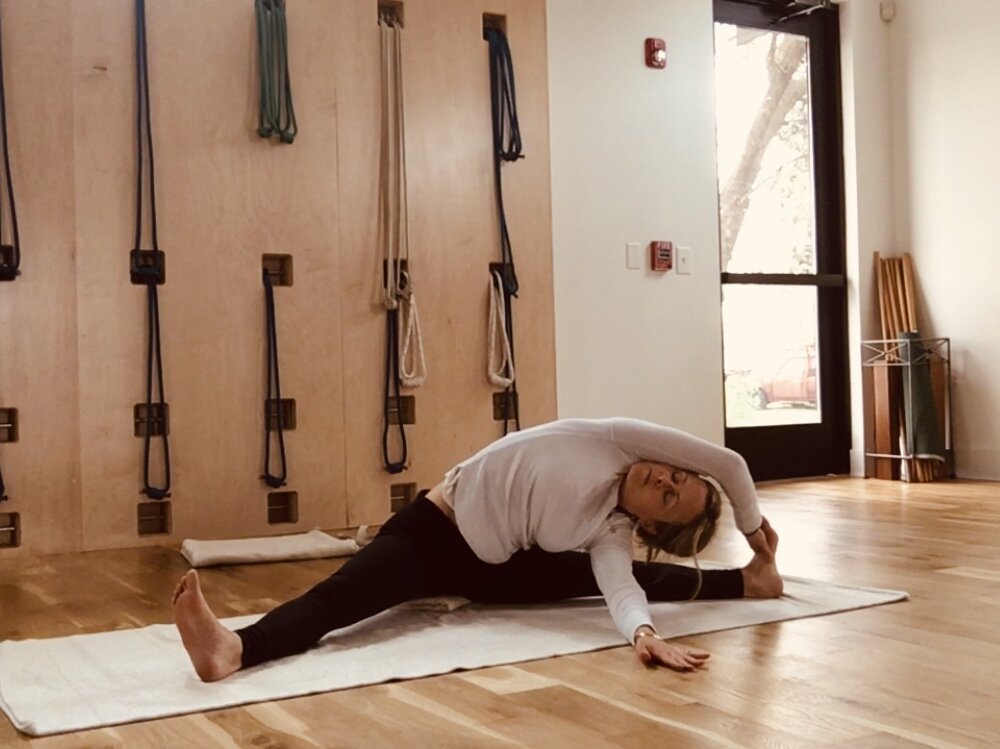
from here you’ll work towards the next two stages: start by stretching the arm up to lift and rotate the chest away from the floor as in Utthita Trikonasana, then extend the arm overhead as in Utthita Parsvakonasana. Keep the bent leg releasing away from the hip and down. Stretch from the lower abdomen to the chest and use the leverage of the bottom arm to turn.
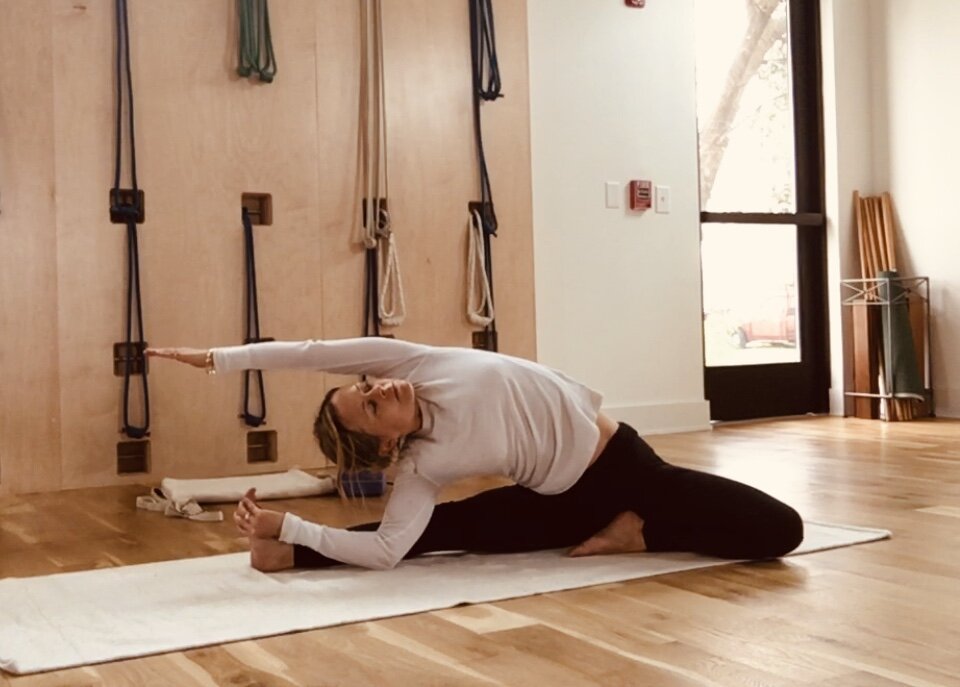
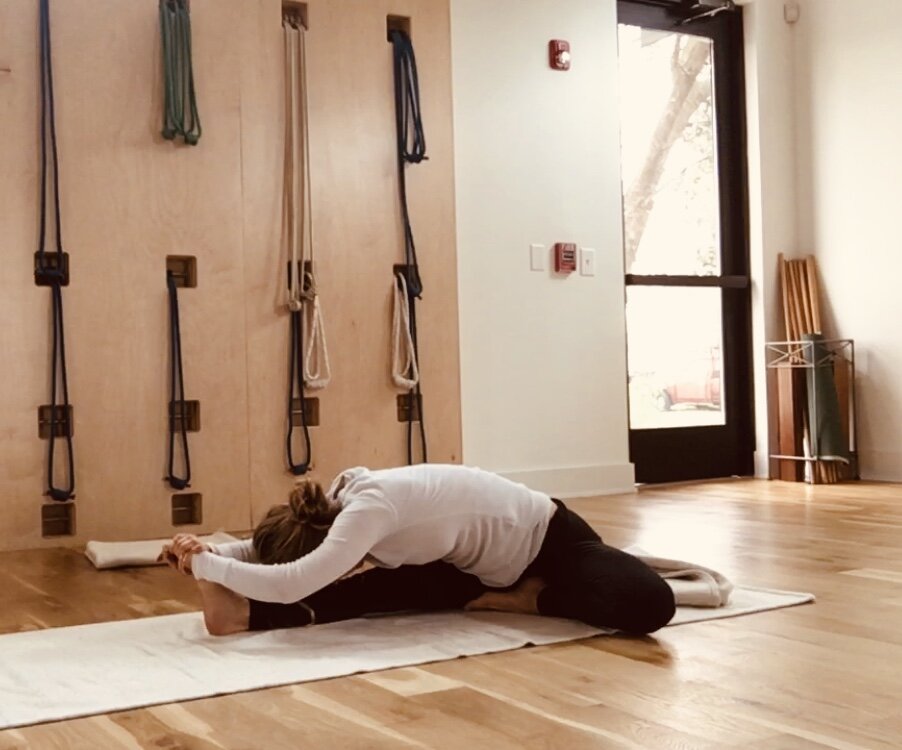
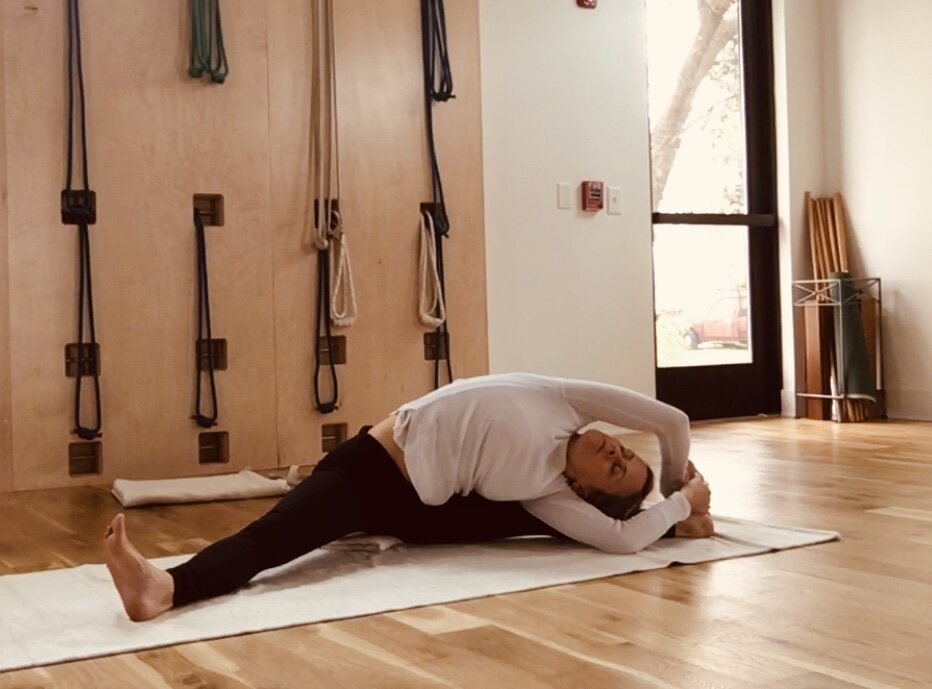
The next few steps are for seasoned students. First I catch the foot, and then see how I release and walk the bottom arm out to intensify the turn and then re-catch. This brings the torso closer to the straight leg intensifying the stretch to the leg and lower waist.

*you can also work with a brick and a strap:
*try repeating Janu Sirsasana here and see how it feels, or try Paschimottanasana (shown below). Observe and see what freedom and release has come to the region between the hips and the lower ribs.

Upha Vistha Konasana (seated wide angle pose)
Keep the thighs strongly pressing down as you stretch up and go forward. If you can’t catch your feet, you can catch your shins or use belts for the feet. If the head does not reach the floor you can rest it on a brick as you did in Prasarita Padottanasana (not shown)
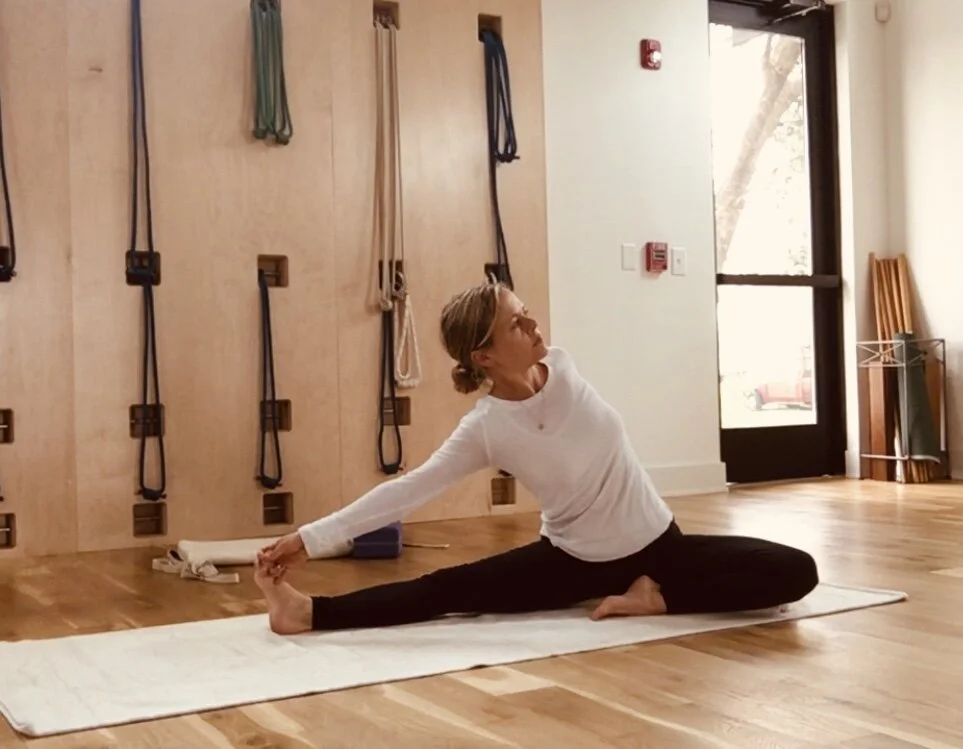
Parsva Upha Vistha Konasana (seated wide angle pose to one side)
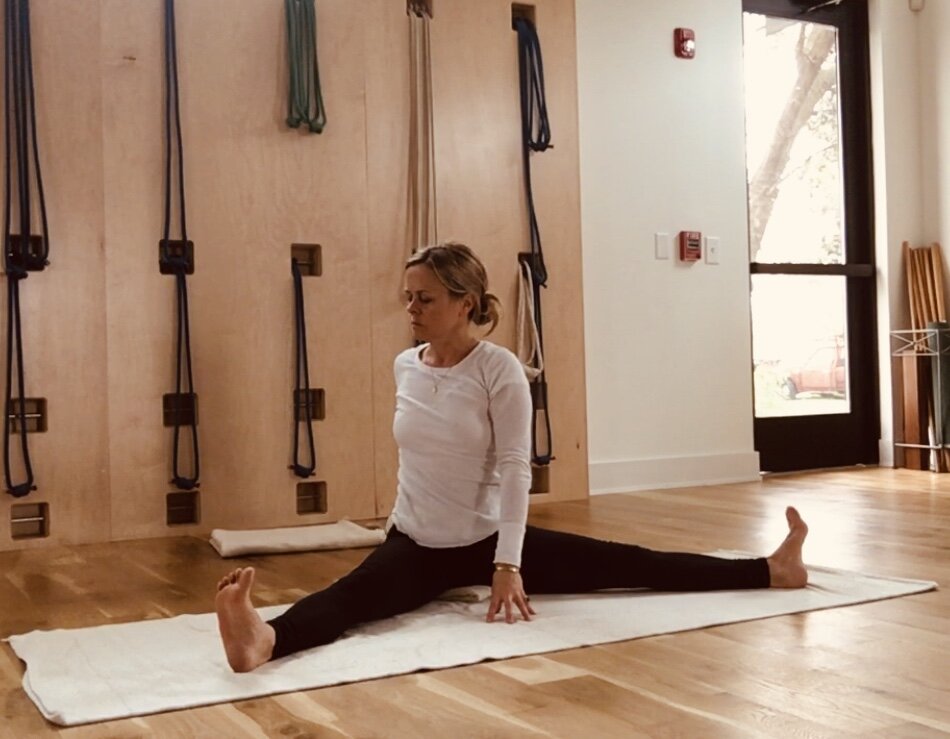

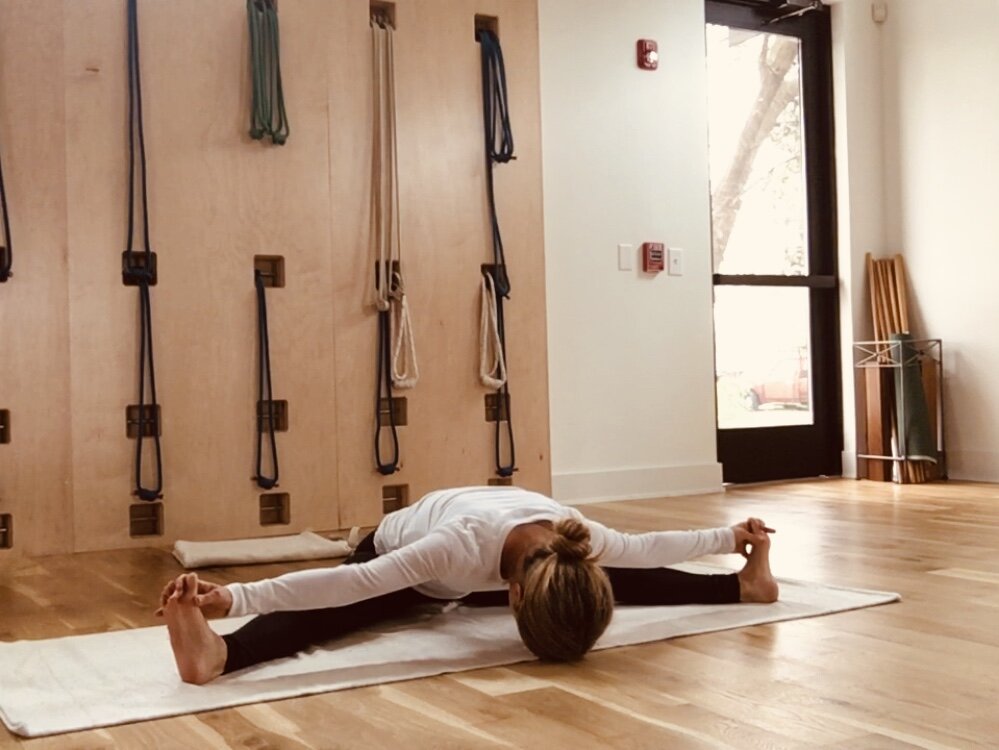
Parivrtta Upha Vistha Konasana (revolved seated wide angle pose)
Observe how this pose is similar to Parivrtta Janu Sirsasana, many of the same instructions apply.

*if the body is stiff, again you can use a belt and a brick:
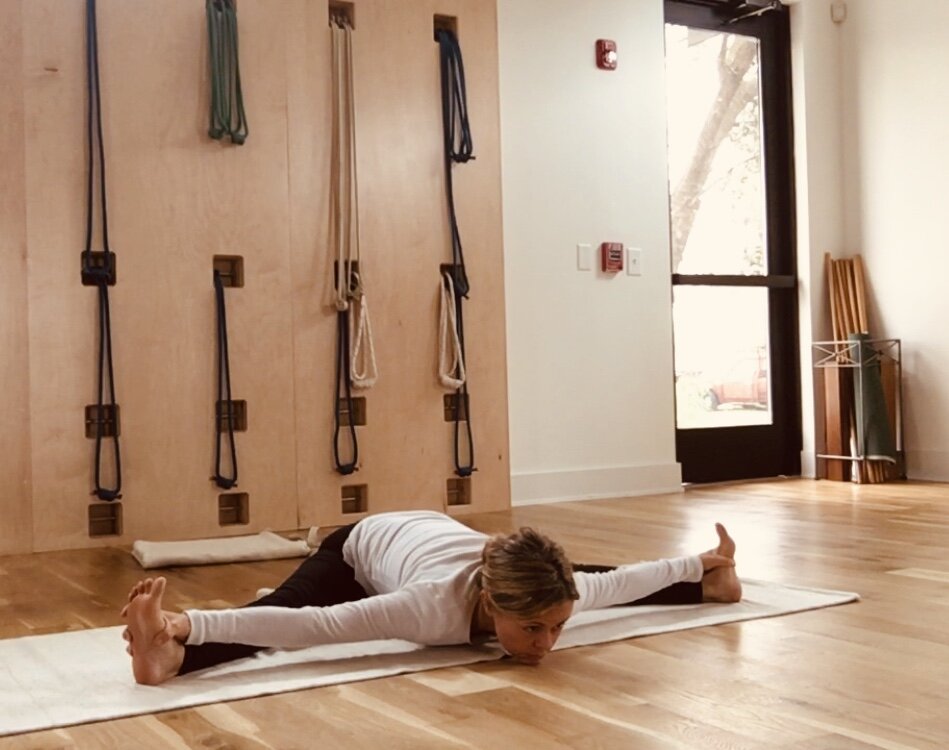
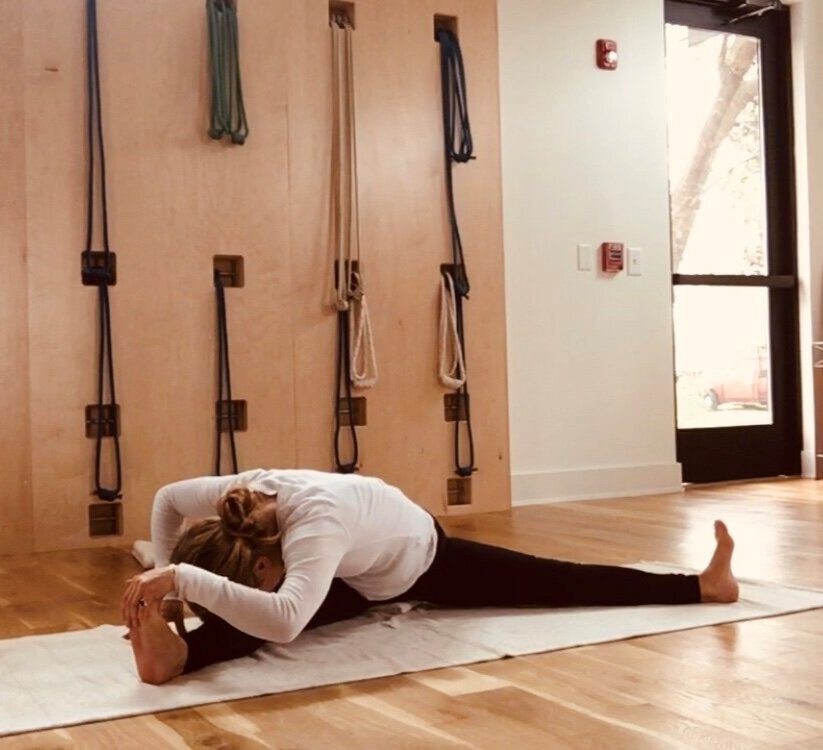
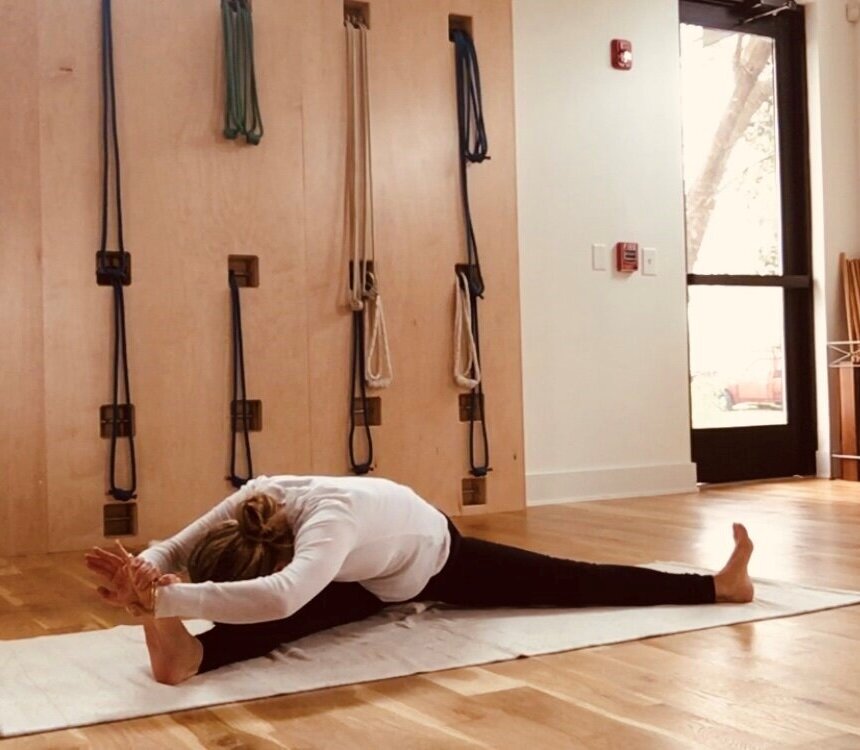
Below is the final stage and how to intensify, skip this stage if the earlier stages were intense enough! Observe how walking the hand out, as you did in Parivrtta Janu Sirsasana, helps to intensify the turn so that more of your trunk comes to rest on the leg.
*try repeating Upha Vistha coming forward, or take Adho Mukha Svanasana and see how the circulation in the back waist feels. There are many places you can go from here! If you are moving towards an end to your practice, take dog pose, Sirsasana and child’s pose. Then consider taking Chatush Padasana and Salamba Sarvangasana. Dropping back into SetuBandha Sarvangasana will come nicely here. So many wonderful paths you can take. You can also take a supported SetuBandha followed by Viparita Karani if you want a more restful end. I leave it to your good design.
Aum Peace Peace Peace
We are happy to provide this resource to our students as we focus in on practicing at home during this time. If you are enjoying in this resource and feel inspired to donate, please do!